Not seeing items you’ve added? Sign in
General Fit
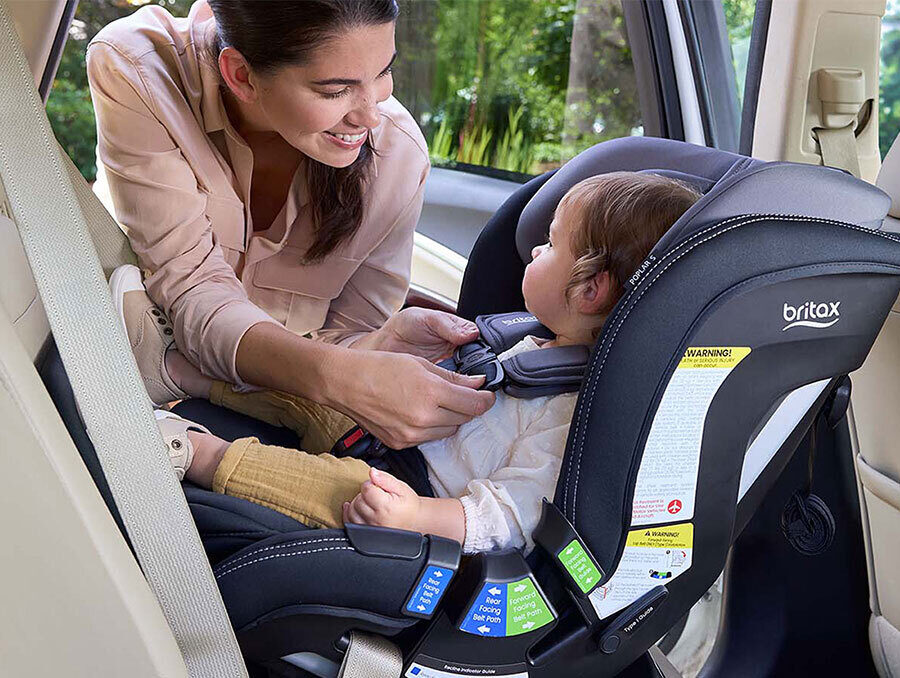
Adjusting and Tightening the Harness

Updated April 1, 2026
This article does not replace the user guide. Always refer to the user guide for your seat for instructions and warnings.
While infant car seats, convertibles, all-in-ones, and harness-2-boosters all have unique features and benefits; they each have one very important feature in common: the 5-point harness. The harness is designed to help keep the child secure in their seat and distribute crash forces evenly across the strongest parts of their body. In order for the car seat and harness to perform as intended in the event of a crash, the harness must be properly adjusted and tightened.
Adjusting the Harness
WHAT
Britax car seats are designed with either a rethread harness or a no-rethread, quick-adjust harness, depending on the model. Both systems are built to help ensure the harness fits your child correctly as they grow.
With a rethread harness, the harness straps are manually repositioned through different slots in the seat to adjust shoulder harness height. With a no rethread, quick-adjust harness, the headrest and harness move together, allowing you to adjust the shoulder height without uninstalling the car seat or taking the harness apart.
Always refer to the user guide for instructions on how to adjust the harness height for your specific seat.
As your child grows, it’s important to periodically check the harness fit and adjust the height when needed to help provide the best protection during a crash. No matter which system your seat has, proper harness height and a snug fit are key to keeping your child securely positioned for every ride.
WHERE
Where should the harness straps be positioned when my child is rear-facing?
When using a rear-facing seat, the harness straps should be located at or just below your child’s shoulders depending on the brand and model. Always confirm the correct position in your seat’s user guide, as instructions may vary. For instance, select Britax car seats require the harness straps to be in the closest position below (not at) the child’s shoulders for rear-facing.
Where should the harness straps be positioned when my child is forward-facing?
When using a rear-facing seat, the harness straps should be located at or just above your child’s shoulders depending on the brand and model. Always confirm the correct position in your seat’s user guide, as instructions may vary. For instance, select Britax car seats require the harness straps to be in the closest position above (not at) the child’s shoulders for forward-facing.
WHY
Why are harness straps positioned differently for rear-facing and forward-facing car seats?
Harness straps are positioned differently because a child’s body moves in different ways during a crash, depending on whether they are riding rear-facing or forward-facing. The goal in both cases is the same: to keep your child safely supported and well-protected throughout the ride.
When a child is riding rear-facing:
In a frontal crash (the most common type of collision), the car seat is designed to cradle and support the child. Placing the harness straps at the manufacturer’s instructed position helps keep the child secure and helps ensure their head, neck, and spine stay well supported within the protective shell of the car seat.
When a child is riding forward-facing:
In the same type of crash, a forward-facing child’s body moves forward. Positioning the harness straps at the manufacturer’s instructed position helps reduce the child’s forward movement and distributes forces across the strongest parts of the body for better overall protection. In both rear-facing and forward-facing modes, the harness works together with the car seat’s overall design to manage crash forces and keep your child properly supported — that’s why adjusting the harness as your child grows is such an important part of safe travel.
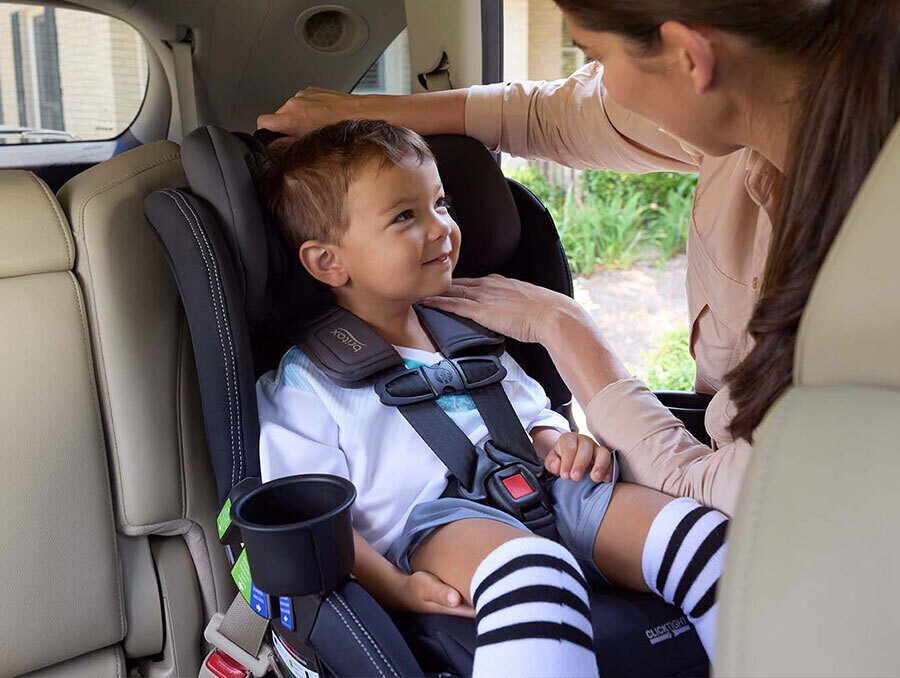
Tightening the Harness
WHAT
After you’ve adjusted the harness strap height correctly according to the directions in your user guide, you’ll also need to tighten the harness each time you place your child into the seat to help ensure that they’re secure.
WHY
A study released by the National Highway Traffic Safety Administration (NHTSA) in 2018 revealed that harness slack was the third most common misuse in rear-facing infant seats and the second most common issue in forward-facing seats. Loose harness straps leave your child vulnerable to injury during a crash because they may allow your child to move out of position.
HOW
How do I tighten the harness? All harnessed Britax car seats are equipped with a harness adjuster strap located at the front of the seat. To tighten the harness:
- First, secure your child in the car seat
- Next, buckle the harness (you may need to start by loosening the harness using the harness adjuster lever or button, usually located under the adjuster strap. See user guide to identify adjuster strap and lever/button.)
- Tighten the harness by pulling on the harness adjuster strap.
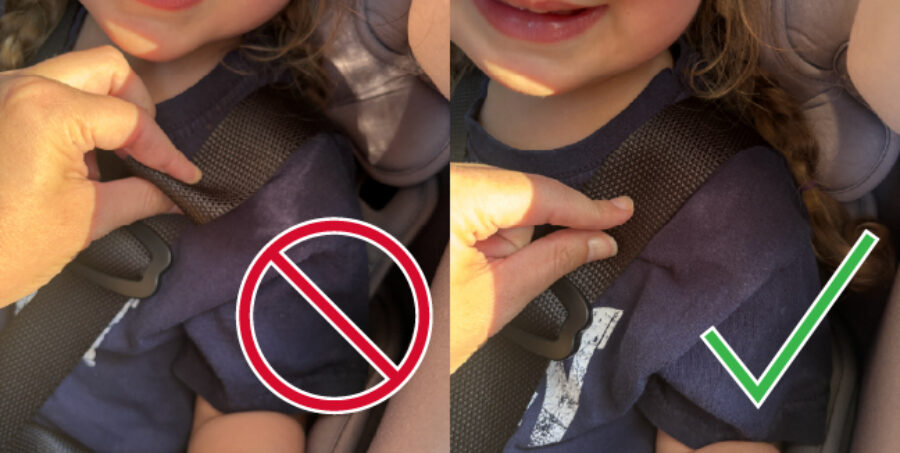
How can I tell if the harness is snug enough?
To tell if your child’s harness is snug enough, perform the Pinch Test:
- Secure your child in the car seat, buckle the harness, and tighten, as described above.
- Using your thumb and pointer finger, try to pinch one of the harness straps vertically at your child's collar bone level.
- If you’re able to pinch the strap, the harness is too loose. You should not be able to pinch any excess webbing.
How Coats & Bulky Clothing Affect Harness Tightness
While your child may appear to be snug in their car seat while wearing a winter coat, the bulky fabric can create slack in the harness straps and leave them too loose. In the event of a collision, the thick coat layers can compress under the harness and potentially increase the risk to your child.
Here’s how you can test your child’s coat or other bulky clothing:
- Secure them in the seat with the coat on.
- Properly tighten the harness and perform the Pinch Test.
- Without loosening or adjusting the harness, remove your child from the seat and take their coat off.
- Secure your child in their seat once again. Buckle the harness without tightening it and perform the Pinch Test once more.
- If the harness passes the pinch test without the coat, then the coat is acceptable. If it does not, then the coat is too bulky and should not be worn under the harness.
To help keep your child warm while properly secured with the harness, place their coat or a small blanket on top of the harness after buckling and tightening. For more ideas, check out our full list of winter travel tips.
Confident & Secure
Harness height and tightness play a key role in keeping your child safe on the road. By familiarizing yourself with the guidelines for your seat, periodically checking your child’s fit, and following the harness instructions in your user guide, you can help ensure that your child’s seat performs as intended and provides maximum protection. If you have any questions about harness height or child fit, contact customer service for your car seat brand or schedule an appointment with a Child Passenger Safety Technician.
Was this helpful?