Not seeing items you’ve added? Sign in
Safety, Testing and Tips
The Essential Car Seat Safety Checklist for Peaceful Journeys

Updated September 16, 2025
Embarking on a journey with your little one requires more than just a GPS. It also requires a thorough car seat safety check. To help you make every trip both safe and memorable, we’ve compiled a car seat safety checklist with essential tips that every caregiver should know. Use this checklist to help ensure that your child is protected, comfortable, and ready to explore the world safely.
Start With the Basics: Know Your Car Seat
- Read the User Guide and Labels: The foundational knowledge provided in the user guide is key to using your car seat confidently and correctly. If you have any questions about the information in your user guide, or if you feel uncertain about installation instructions, don’t hesitate to contact the customer service team for your car seat brand. For Britax seats, you can find customer service information on our Contact page.
- Check Your Car Seat Expiration Date: The materials that make up car seats can degrade over time, which means that expired seats may no longer be safe to use. Additionally, older car seats may have faded or missing labels, and they may even be missing essential parts and pieces. Before installing the seat in your vehicle, check the serial label and/or the user guide to confirm the expiration date. For more helpful information, read our Car Seat Expiration article.
Know Local Car Seat Laws: Car seat requirements vary by state and province. Some regions have age and size minimums or maximums for each type of car seat. Familiarize yourself with the laws in your area and ensure that you’re following local requirements. US residents can check state laws on the Insurance Institute for Highway Safety website, and Canadian residents can check provincial guidelines via the Canadian Automobile Association website.
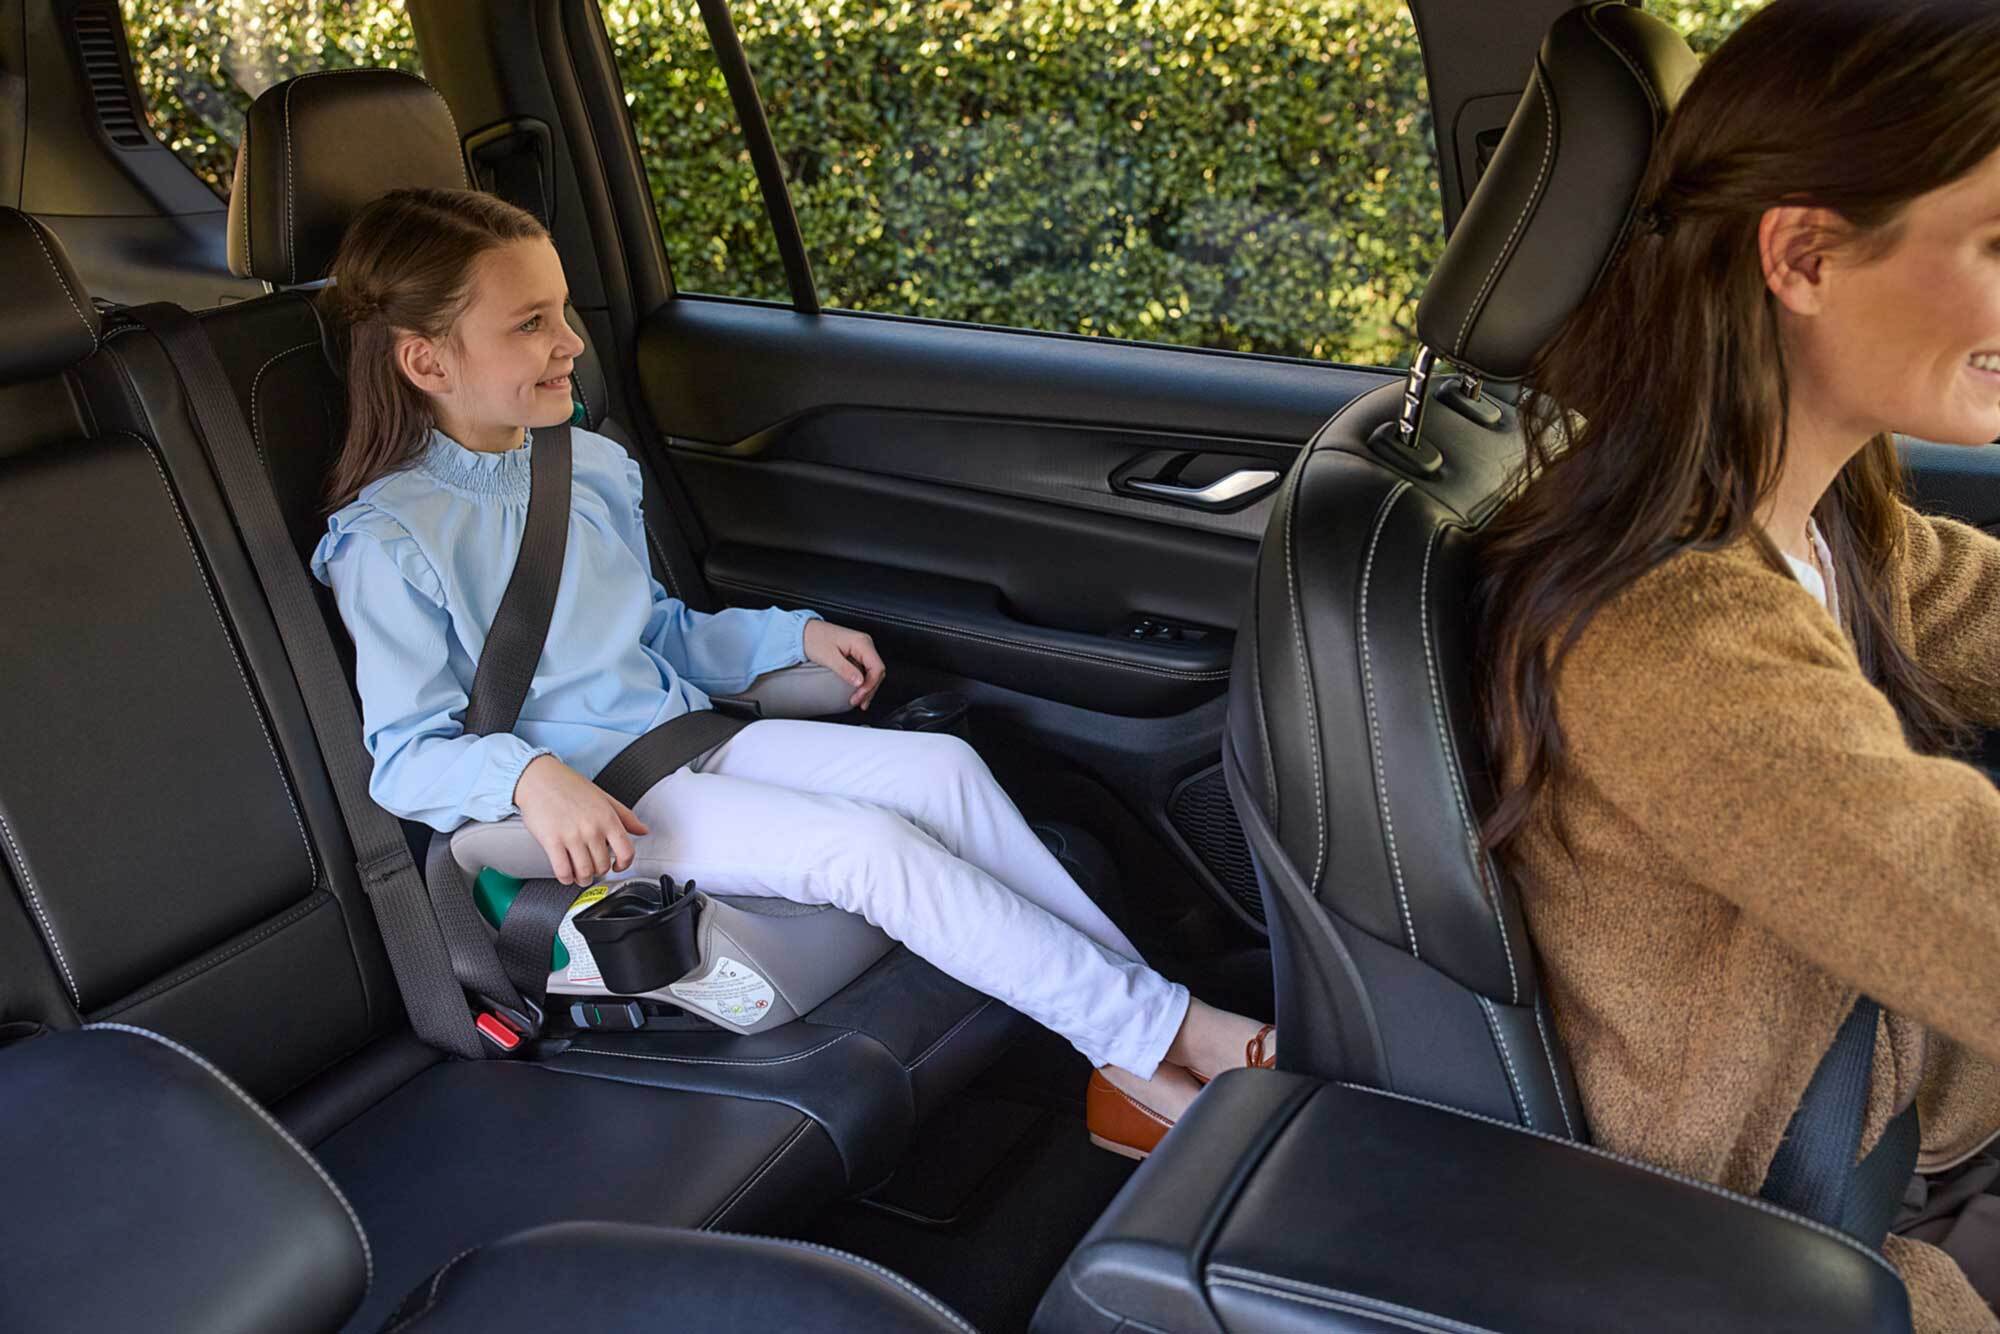
Ensure Proper Fit and Position
- Height and Weight: Confirm that your child is within the seat’s stated height and weight range, and review any additional size and fitment rules in the user guide.
- Optimal Orientation: Britax strongly recommends that children ride rear-facing to the highest weight or height specified by their seat. Britax also recommends that children should remain in a child seat with a 5-point harness until reaching the maximum weight or height allowed before transitioning to a booster.
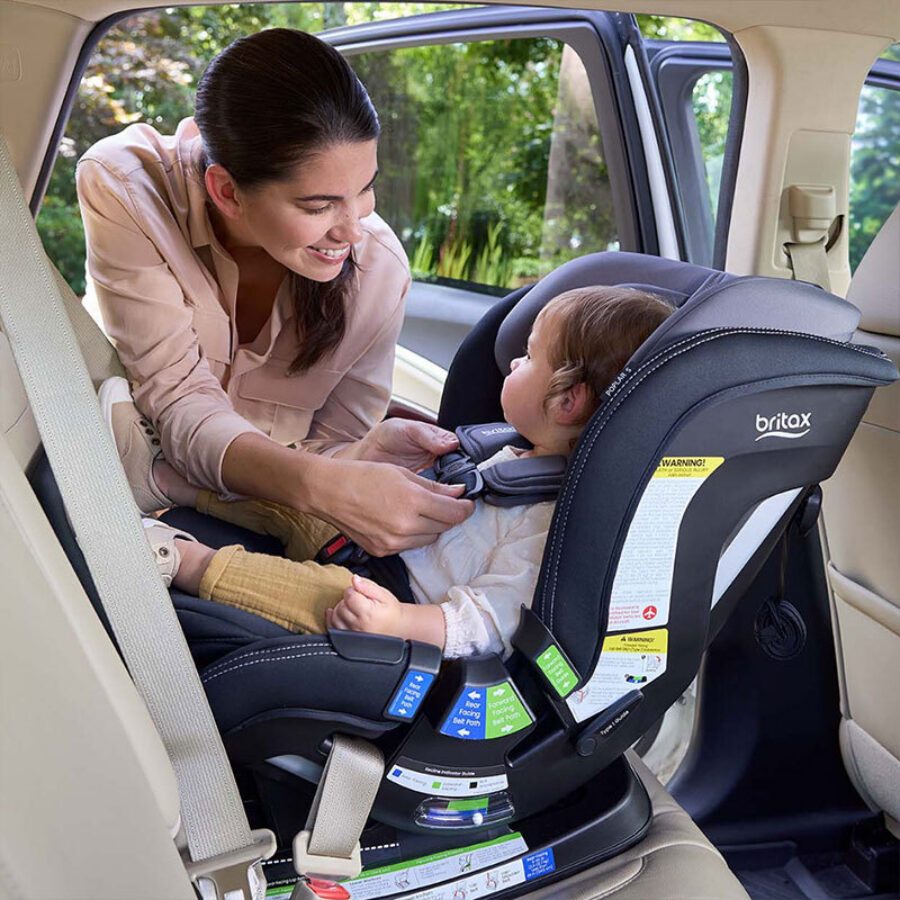
- Secure Installation: If you’re installing the seat using the lower anchor connectors (part of LATCH—Lower Anchors and Tethers for Children), use your vehicle owner’s manual to identify approved seating positions and lower anchors. Once you’ve installed your car seat, it should not move more than 1 inch side-to-side or front-to-back at the belt path. If installation challenges arise, consider alternative seating positions in your vehicle or a different installation method. You can also consult a Child Passenger Safety Technician to help ensure that your car seat is installed correctly.
- Seat Overhang: "Overhang" refers to the part of the car seat base that extends out over the front edge of the vehicle seat. Check your user guide for the maximum overhang allowed by your car seat.
- Harness Tightness: Use the car seat harness pinch test: when your child is buckled, you should not be able to pinch any excess webbing vertically at your child’s collarbone level.
Correct Chest Clip Placement:
A properly positioned chest clip helps keep the harness in the correct place. Be sure to position the chest clip at the armpit level.
Tether Usage: The tether is designed to help provide additional stability and reduce forward movement for forward-facing car seats. Britax strongly recommends tether usage in forward-facing mode. Some brands and models allow tether usage in rear-facing mode, so always refer to your user guide for specific instructions. Route the tether as directed by your car seat and vehicle user guides, making tether usage a non-negotiable part of your installation process.
Note: Britax requires that the top tether be used in forward-facing harness mode for all Canadian models.
Accessories: Only use car seat accessories that are approved by the manufacturer. Non-approved add-ons can interfere with performance.
Adjustments for Growth and Changes
Recline Angle for Rear-Facing Seats:
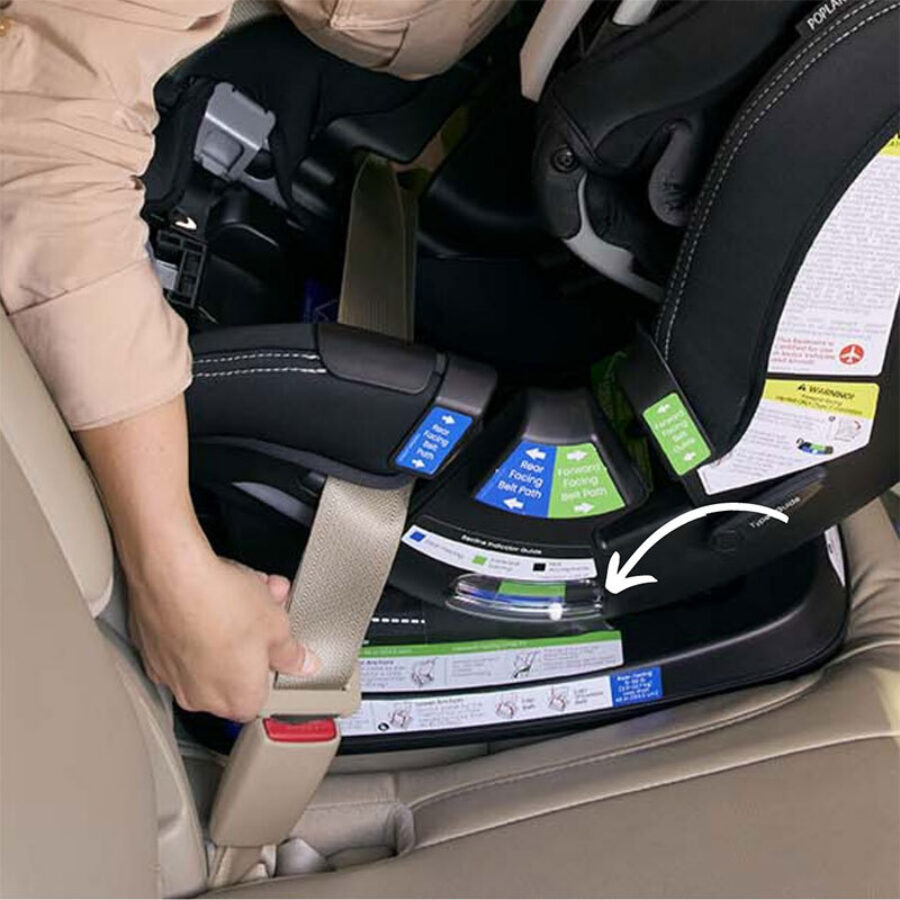
Ensure that the car seat is reclined appropriately to support your baby’s head, neck, and airway. This is especially crucial for infants as they develop head and neck control. Check your car seat’s user guide for instructions on how to find the proper recline angle, and ensure that you’re checking the angle while parked on level ground. Once buckled, your child’s chin should not rest on their chest.
Proper Harness Height:
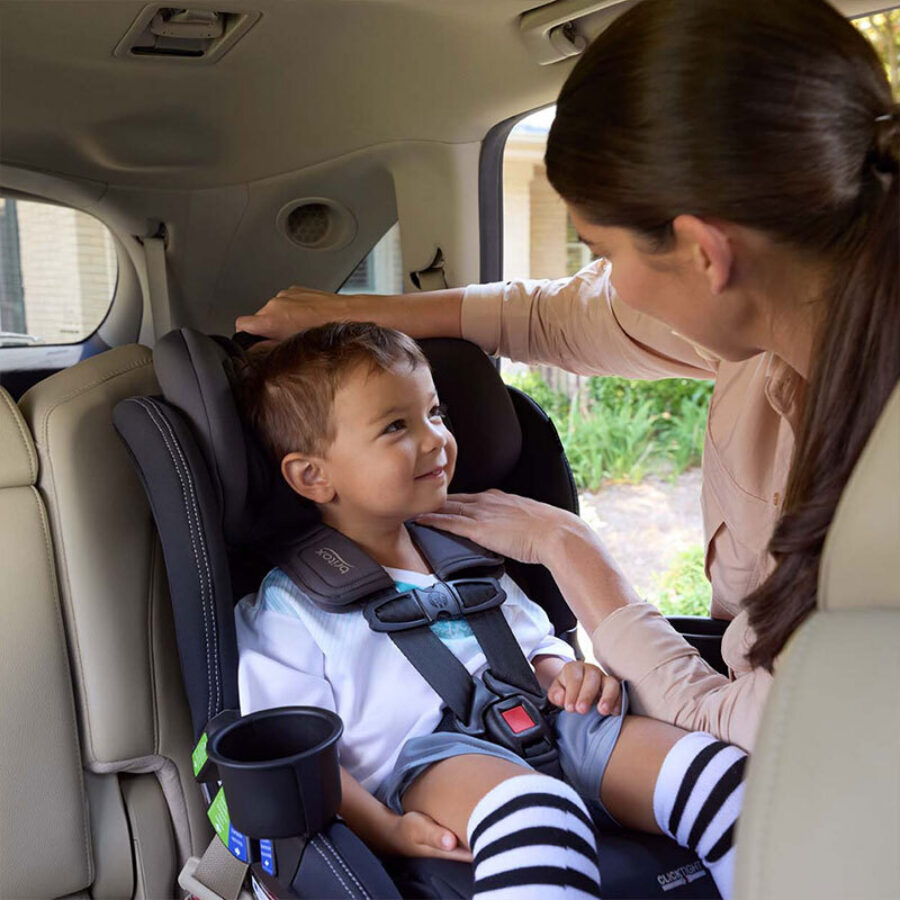
The harness should be adjusted regularly as your child grows. For many seats, the harness straps should be positioned at or just below the child’s shoulders for rear-facing mode and at or just above the child’s shoulders for forward-facing mode. However, harness height requirements vary by brand and model. Always check your user guide for manufacturer instructions. For select Britax models, the harness straps must be positioned in the closest slot below (not at) the child’s shoulders for rear-facing mode and just above (not at) the child’s shoulders for forward-facing mode.
- Infant Inserts: Many car seats come with infant inserts or positioning pillows that are specifically designed for children within a certain weight range. Familiarize yourself with the instructions in your user guide regarding inserts and remove them once your child has reached the weight limit.
- Lower Anchor Limits: If you’re installing a car seat using the lower anchor attachments, remember that this system has a weight limit (indicated in your user guide and on the car seat labels). Once your child reaches this limit, reinstall the car seat using the vehicle seat belt. Always verify instructions in both the car seat user guide and your vehicle owner’s manual.
Need additional support? Contact the customer service team for your car seat brand or schedule a fit check with a Child Passenger Safety Technician.
With this safety checklist on hand, you can embark on every journey with confidence. Here’s to many safe and happy travels ahead for you and your precious cargo.
Was this helpful?